Blade-Tech X26 & Taser 7 Holster: Molle Adapter Guide
Share
The following instructions are intended to help you install our Revision 3 Molle Adapter to your Blade-Tech X26 or Taser 7 holster on your own. If you need further guidance, please email us and we will help you as quickly as possible.

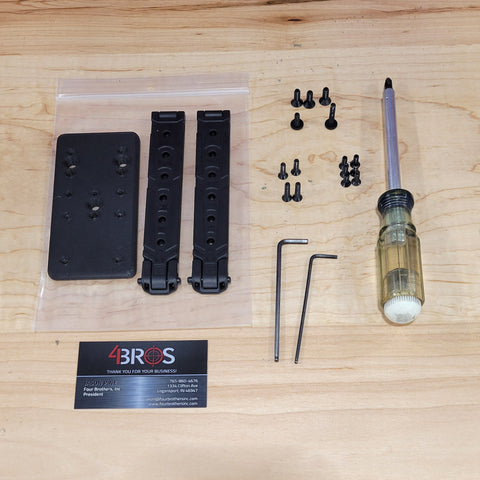
You will need a Phillips Screw Driver, 1/8 Allen Wrench, 5/32 Allen Wrench, Blade-Tech X26 or Taser 7 Holster and our Molle Adapter to complete the installation.

Remove the contents of the Molle Adapter Packaging

Remove the Blade-Tech Holster from the packaging, open the Tek-Lokl belt attachment and remove the center screw using an 1/8 Allen Wrench. Remove the two truss screws with a Phillips Head Screwdriver.

Your holster should look like this without the Tek-Lok. If it doesn't, please visit our Blade-Tech Molle Adapter instructions in the Blog section of our website.

Locate the Molle Adapter Plate and the 3/4" long 8-32 Fat Head Truss screw from the Molle Adapter Kit. Flip the plate over before you install it to the holster to make sure all 6 threaded posts are still pressed into the back of the plate.

Install the 3/4" long 8-32 Fat Head Cap screw in the center top hole as shown and tighten the screw down until the head touches the plate. You will want to be able to move the plate to align the holes for the next step, so don't tighten the screw too tight just yet.

Locate three of the 3/8" Flat Head Cap Screws and one Molle Attachment from the kit and install the screws as shown. Repeat this step for the second Molle Attachment.

Locate the 5/8" Flat Head Cap Screws from the Molle Adapter kit.

Rotate the Molle Adapter Plate to align with your desired holes on the back of the Blade-Tech Holster. Install the 5/8" Flat Head Cap Screws in the holes as shown. Do not overtighten the screws, snug is fine for this step.

Once assembly is completed, the back of the plate should look like this. Once initial assembly is completed, we HIGHLY recommend removing each screw and adding a drop of threadlocker to ensure your hardware stays in place.

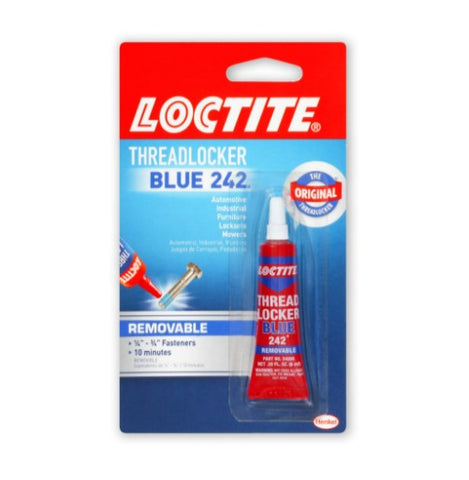
Loctite 242 is our preferred brand of threadlocker for proper assembly of your Molle Adapter. It is typically available at any hardware store, Wal-Mart, Amazon and other big box stores.

Once you have added threadlocker to your holster and tightened all of the screws, your Molle Adapter plate should sit flush with the back of the holster and none of your hardware should protrude through the threaded posts on the inside of the holster.
We are not responsible for incorrect installation. We are ALWAYS available for installation guidance, please do not hesitate to reach out to us with questions.


2 comments
Nate, this plate will NOT work with Safariland products. We do have a plate in the early stages of production that will work. Please contact me through the email here so we can discuss.
Hi, I’m wondering if this plate would be compatible with a safariland taser holster? It has a three bolt set up but it’s tough to tell if the adapter plate would work for it.