

Revision 3 Molle Adapter Install w/ Blade-Tech Holster
The following instructions are intended to help you install the Revision 3 Molle Adapter to a holster that is configured to use the 1.5" Blade-Tech style holster attachment bolt pattern with 8-32 screws.

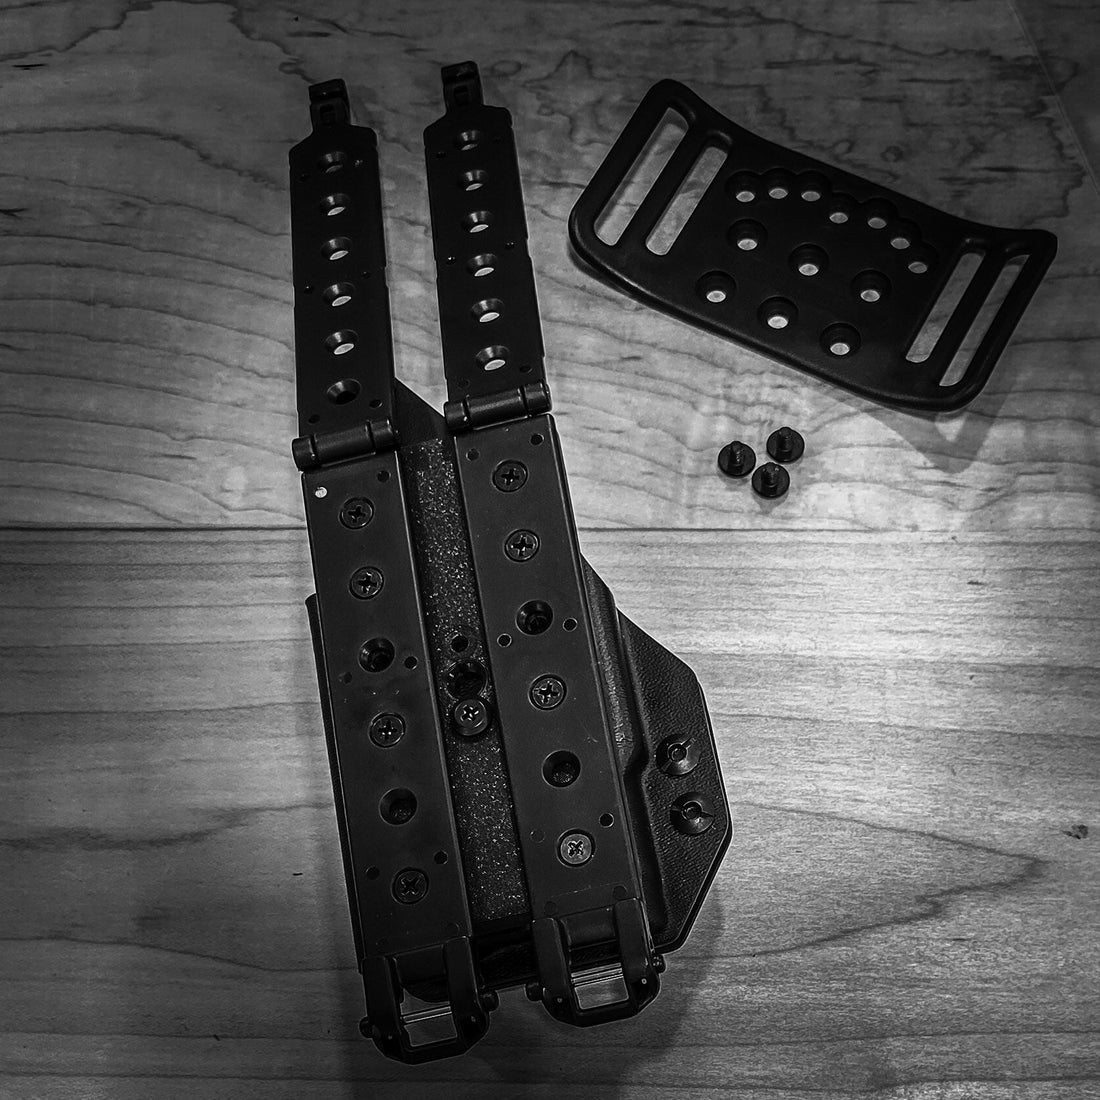
Shown here is our Sig P365XL and Streamlight TLR-7 Sub Outside Waistband holster.
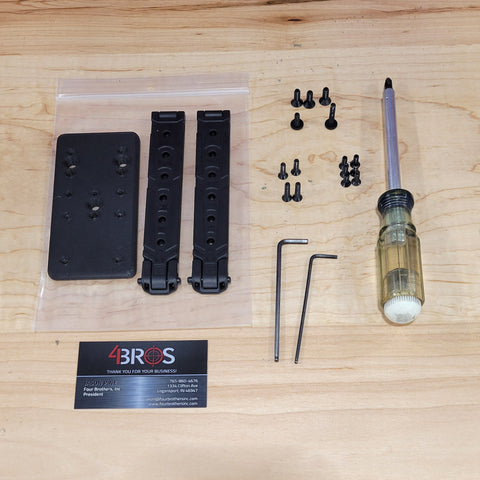
You will need a Phillips head screw driver, Blackhawk or Blade-Tech style holster and removable thread locker for correct installation. Your individual holster may require different tools than what are shown in these instructions depending on the screws you need to remove from your holster
 .
.
Remove the belt attachment from your holster and set the screws aside. You will be re-suing the threaded posts for installation, so keep them handy.
Please note, we want you to be aware of the amount of thread engagement that you have between the new Molle Adapter screws and the threaded posts that came with your holster.
The ideal scenario has the bottom of the screw flush with the inside of the threaded post. Too much thread engagement will allow the screw to protrude from the inside of the post and possible scratch your weapon or taser.
Not enough thread engagement will compromise the integrity of the Molle Mount to the holster and may cause a failure in the field. If you have questions regarding the proper amount of thread engagement needed for correct installation, please reach out to us through the contact us page of our website so we can help ensure you are installing our Molle Adapter correctly.

Locate the 3/8" Flat Head Phillips Screw and one Molle Attachment from the Molle Adapter kit. Make sure all six threaded posts are still press fit on the back of the Molle Adapter plate before you proceed to the next step.

Install the Molle Attachments using the 3/8" Flat Head Phillips Screws to the plate using the 6 holes that align with the Molle Attachment as shown above. Snug the screws down, but do not over tighten during this step.

Locate the 1/2" Flat Head Phillips screws from the Molle Adapter kit.
This is the step where we need you to verify the screws are the right length. We have included 5/8" screws in the kit and they may be substituted here if your holster will allow it.

Place the Molle Adapter plate on your holster and align the second row of holes to the top row of holes and threaded posts of your holster and loosely install two screws. Look inside the holster and make sure the screws are not sticking out the back side of the threaded posts. The bottom of the screw should be flush or slightly recessed from the inside or bottom of the threaded post as shown in the next image.

The circles area is the ideal situation for assembly. The rear threaded post shows screws that are too long for the application and could cause damage to your pistol or taser.

Install the 3/8 long Fat Head Screw in the bottom center hole of the Molle Adapter plate and double check for correct thread engagement on the inside of your holster.

Correct Adapter Installation should look like this.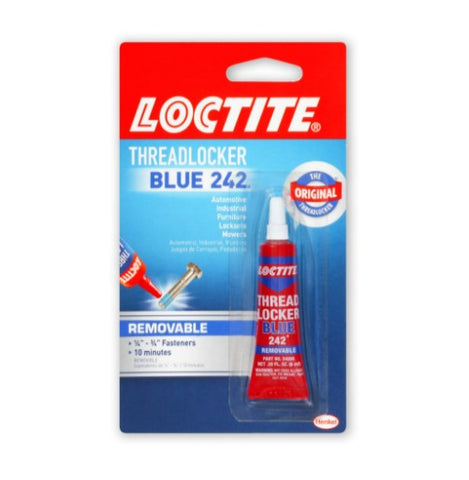
Once you have verified that you have the Molle Adapter installed correctly and the screws have the right amount of thread engagement, remove each screw one at a time and apply a small amount of threadlocker to each screw, reinstall and tighten. We recommend Loctite 242 removeable threadlocker.

Congratulations, you have successfully installed the Molle Adapter. Please double check your screws frequently to make sure they remain tight and your gear is secured.
We are not responsible for incorrect installation. We are ALWAYS available for installation guidance, please do not hesitate to reach out to us with questions.